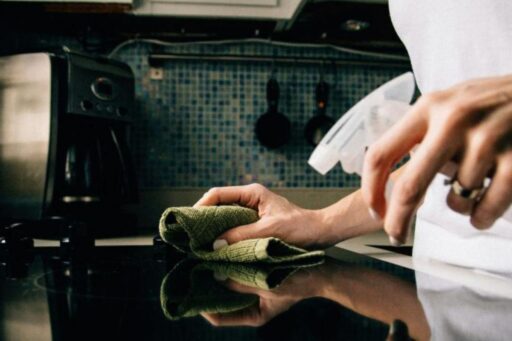
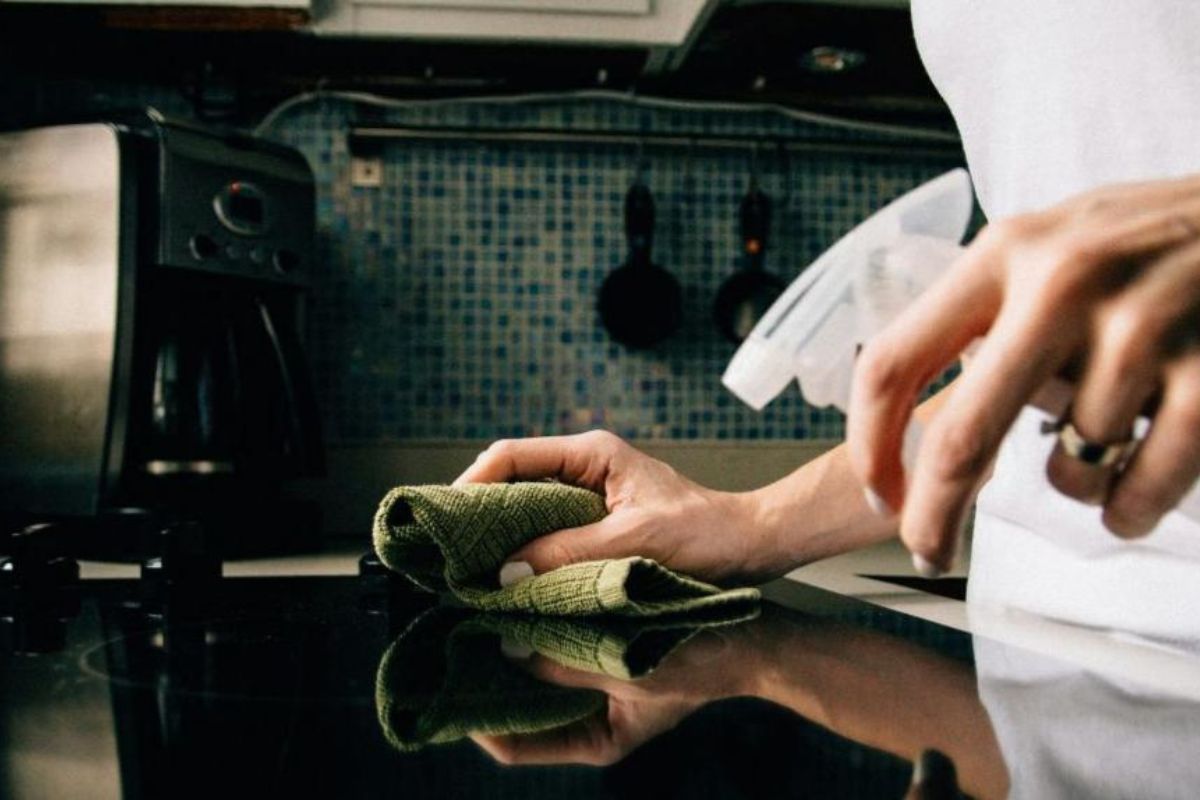
Microwave messes can build up quickly from splattered sauces, greasy foods, and lingering odors, but cleaning does not have to be difficult. Learning how to clean a microwave helps keep your kitchen fresher, safer, and easier to maintain with simple household methods.
This guide explains practical ways to loosen stains, remove smells, and wipe away grease, with more helpful tips available in TeaKoe’s article below.
1. Common Microwave Stains You Can Easily Clean with This Method
Microwave stains usually come from everyday heating, steaming, and reheating, so most messes can be cleaned without harsh scrubbing. Authorities like the U.S. Department of Agriculture report that food residue can harbor harmful bacteria if left uncleaned.
Fresh Food Splatters
Fresh splatters from soup, sauces, oatmeal, or reheated meals are usually the easiest to remove. Wiping these spots soon after use helps prevent them from drying onto the walls.
A damp cloth or steam-cleaning step can lift most fresh marks quickly.
Dried-On Stains
Dried stains need more patience because food residue hardens after repeated heating. Steam helps soften stuck-on spots so they can be wiped away without scratching the microwave surface.
Letting the moisture sit for a few minutes before cleaning makes the process smoother and more effective.
Grease Buildup
Grease can collect on the walls, ceiling, door, and turntable after heating oily foods. Warm steam helps loosen the greasy layer, while a soft cloth can remove it more safely than rough scrubbing.
For heavier buildup, repeat the process and wipe carefully around corners and seams.
Lingering Food Odors
Strong smells from popcorn, fish, sauces, or leftovers can stay inside the microwave even after stains are gone. Steam with lemon, vinegar, or baking soda can help neutralize odors and freshen the interior.
Leaving the door open briefly after cleaning also helps trapped smells fade faster.
2. How to Clean a Microwave With Vinegar
Vinegar is a simple household cleaner that can help loosen splatters, soften grease, and reduce strong food smells inside the microwave.
Step 1: Mixing the Water and Vinegar Solution in a Bowl
Pour equal parts water and white vinegar into a microwave-safe bowl. For everyday cleaning, about one cup of water and one cup of vinegar is usually enough.
Step 2: Microwaving the Mixture to Create Deep-Cleaning Steam
Place the bowl in the microwave and heat it for three to five minutes, depending on how dirty the interior is. As the mixture warms, steam will spread across the walls, ceiling, door, and turntable to help loosen dried food and grease.
Step 3: Letting the Steam Rest to Loosen Stubborn Grease
After heating, keep the microwave door closed for a few more minutes. This resting time allows the vinegar steam to soften stubborn spots and greasy residue.
Be careful when opening the door, since the bowl and steam may still be hot.
Step 4: Wiping Down the Internal Walls and Removing Residue
Remove the bowl carefully, then wipe the inside with a soft cloth or sponge. Pay attention to corners, the door seal, and the turntable area where residue often collects. For remaining stains, dip the cloth into the warm vinegar solution and wipe again.
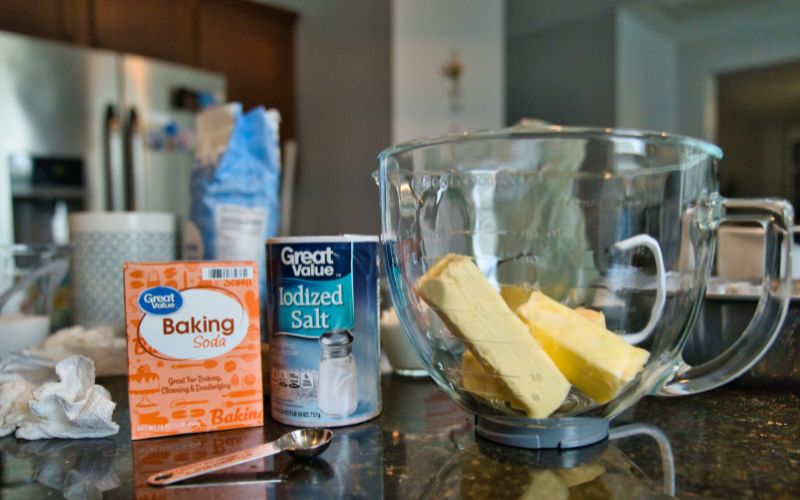
3. How to Clean a Microwave With Baking Soda
Baking soda is a gentle option for cleaning microwave stains because it helps lift residue without harsh scrubbing.
Step 1: Making a Baking Soda Paste
Mix two tablespoons of baking soda with a small amount of water until it forms a soft paste. The texture should be spreadable, not too watery.
Step 2: Applying the Paste to Stained Areas
Spread the baking soda paste over stained spots, sticky splatters, or greasy areas using a soft cloth or sponge. Avoid rubbing too hard, especially near vents or delicate seams. Let the paste sit for a few minutes so it can soften the residue.
Step 3: Wiping Away Loosened Residue
Use a damp cloth to gently wipe away the baking soda paste and the loosened food particles. For tougher stains, repeat the process instead of using abrasive scrubbers.
Step 4: Removing Odors and Finishing the Clean
After wiping the inside, place a small bowl of water with a spoonful of baking soda in the microwave and heat it briefly to freshen the interior. Let the steam sit for a minute, then wipe everything dry and leave the door open to air out.
4. Common Microwave Cleaning Mistakes That Damage Your Appliance
Cleaning a microwave the wrong way can leave scratches, trap moisture, or push liquid into areas that should stay dry.
Using Harsh Abrasives
Rough scrubbers, steel wool, or gritty cleaners can scratch the interior coating of a microwave. Once the surface is damaged, food residue and grease may stick more easily.
A soft sponge, microfiber cloth, or steam-softened wipe-down is usually safer for removing stains without harming the appliance.
Spraying Cleaners Directly Into Vents
Spraying liquid cleaner directly into vents, seams, or control areas can allow moisture to reach electrical components. This may cause odors, malfunction, or long-term damage.
It is better to spray cleaner onto a cloth first, then wipe the surface carefully while avoiding openings and sensitive parts.
Forgetting the Turntable
The turntable catches spills, crumbs, grease, and sticky residue, so skipping it can leave the microwave smelling dirty even after the walls are cleaned.
Remove the glass plate and wash it with warm, soapy water. Dry it fully before placing it back to prevent slipping or trapped moisture.
Leaving Moisture Behind
Extra moisture left inside the microwave can create stale smells, streaks, or buildup around corners and seals.
After cleaning, wipe the walls, door, and turntable area with a dry cloth. Leaving the door open for a few minutes also helps air circulate and keeps the interior fresh.
>>> Read More: How to Hard Boil Eggs Perfectly Every Time (Step-by-Step Guide)
5. Final Words
Keeping your microwave clean helps prevent stubborn stains, greasy buildup, and lingering food odors from taking over your kitchen. Once you know how to clean a microwave with simple methods like vinegar steam or baking soda, the process becomes quicker and safer.
Gentle tools, careful wiping, and proper drying can also protect the appliance from damage. Regular cleaning after spills makes each deep clean easier and keeps everyday reheating more pleasant. For more practical kitchen care tips, TeaKoe offers easy guides that help make home routines cleaner and simpler.