
Wall damage can look frustrating at first, but most small dents, nail holes, and drywall gaps are easier to repair than they seem with the right method. This guide explains how to patch a hole in the wall, from choosing filler or mesh patches to sanding and painting for a clean finish. For more practical home repair tips, continue with the TeaKoe guide below.
1. How to Patch a Hole in The Wall: Essential Tools and Materials
Clean wall repair starts with the right supplies, because each hole size needs a slightly different approach.
- Spackle or joint compound: Use this to fill small holes, dents, and shallow drywall damage.
- Putty knife: A small putty knife helps spread spackle smoothly and remove excess product from the wall surface.
- Sandpaper or sanding sponge: Use fine-grit sandpaper to smooth the patched area after it dries.
- Drywall patch or mesh tape: These are useful for medium holes that need extra support before applying compound.
- Utility knife: A sharp knife can trim loose drywall edges and help shape the damaged area before patching.
- Drywall repair piece: For larger holes, a small piece of drywall may be needed to rebuild the missing section.
- Primer: Primer helps seal the repaired area so paint applies evenly and does not look patchy.
- Matching wall paint: Use the same paint color and finish to blend the repaired spot with the surrounding wall.
2. How to Patch a Small Hole in the Wall (Nails, Screws, Cracks)?
Small wall damage is usually easy to fix when the surface is clean, and the filler is applied in thin, even layers.
If you are learning how to patch up a hole in the wall, start with simple repairs like nail holes, screw marks, and hairline cracks before moving to larger drywall damage.
Step 1: Clean the Area
Remove loose paint, dust, or broken drywall around the hole before applying any filler. Use a dry cloth, small brush, or utility knife to clear rough edges.
A clean surface helps spackle or putty stick better and prevents the patch from lifting, cracking, or looking uneven after it dries.
Step 2: Apply Spackle or Putty
Scoop a small amount of spackle or wall putty onto a putty knife, then press it into the hole or crack.
Smooth the surface by dragging the knife across the wall at a slight angle. For deeper holes, apply thin layers instead of one thick coat so the repair dries evenly.
Step 3: Sand and Paint
Once the filler is completely dry, sand the patched area gently until it feels smooth and level with the wall. Wipe away dust before painting so the finish looks clean.
Apply matching paint in light coats, blending the edges into the surrounding wall for a natural result.
>>> Read more: How to Hard Boil Eggs Perfectly Every Time (Step-by-Step Guide)
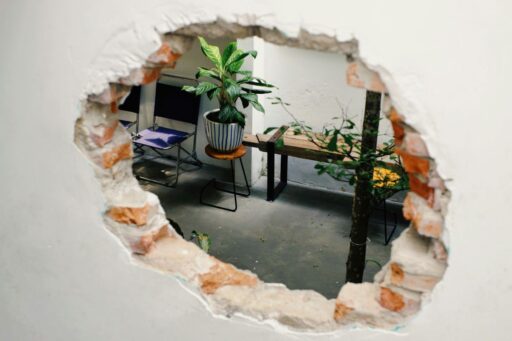
3. How to Patch a Large Hole in the Wall?
Large wall holes need more structure than simple spackle because the damaged area must be supported before it can be covered smoothly.
Step 1: Cut and Square the Damaged Area
Trim the broken drywall into a clean square or rectangle using a utility knife or drywall saw. Removing jagged edges makes the patch easier to measure and fit. Before cutting, check carefully for wires or pipes behind the wall so the repair stays safe and controlled.
For detailed safety protocols on identifying hidden utility lines before cutting into structures, refer to the OSHA Construction Safety Guidelines.
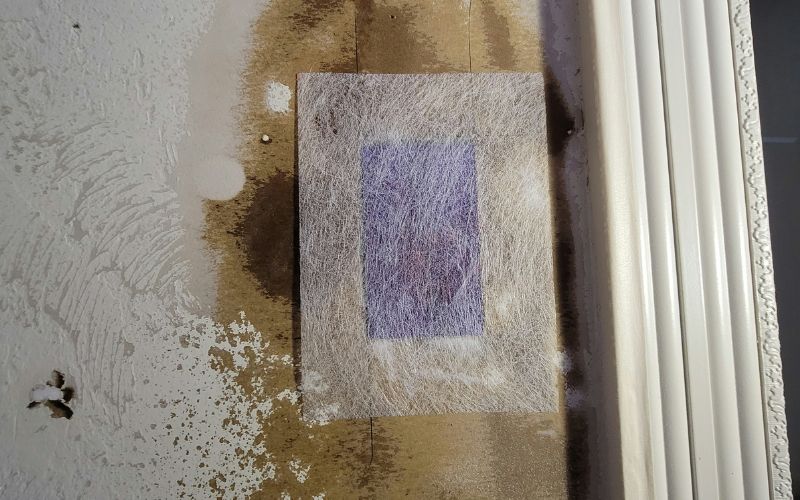
Step 2: Install a Support Backing (Wood or Mesh Patch)
For larger holes, add support behind the opening so the patch has something solid to attach to.
A small wood backing strip can be screwed behind the drywall, or a mesh patch can cover medium-sized damage.
Step 3: Mudding and Taping with Joint Compound
Apply joint compound over the patch, then press drywall tape around the seams to strengthen the repair.
Smooth another thin layer of compound over the tape, spreading it slightly beyond the edges. Thin coats work better than thick layers because they dry more evenly and sand more cleanly.
Step 4: Feathering, Sanding, and Texture Matching
After the compound dries, sand the area gently until it feels level with the surrounding wall. Feather the edges outward so the patch does not leave a visible raised spot.
If the wall has texture, match it before priming and painting for a more seamless finish.
4. How Much does it Cost to Patch a Hole in the Wall?
Patching a wall hole can cost about $15 to $50 if you handle the repair yourself with basic supplies like spackle, mesh tape, sandpaper, primer, and paint.
Hiring a professional usually costs more, often around $150 to $600, depending on the damage and labor needed.
The final price depends on the hole size, wall type, and finish. Small nail holes are inexpensive to fix, while larger drywall or plaster damage may require backing support, joint compound, texture matching, and repainting.
5. The Most Common Mistakes That Make Repairs Noticeable
Wall repairs usually stand out when the surface is rushed, uneven, or painted before it is fully ready.
Applying Too Much Compound
Thick layers of spackle or joint compound may seem helpful, but they often dry unevenly and create raised patches.
It is better to apply thin coats and let each layer dry fully. This makes sanding easier and helps the repaired area blend naturally with the wall.
Skipping Proper Sanding
Poor sanding can leave bumps, ridges, or rough edges around the patched spot. Even if the hole is filled correctly, an uneven surface will still show through the paint.
Use fine-grit sandpaper and lightly feather the edges so the patch feels level with the surrounding wall.
Painting Without Matching Texture
Paint alone cannot hide a repair if the wall texture does not match. Smooth patches on textured walls often catch light differently and become easy to notice.
Before painting, recreate the wall’s texture as closely as possible, then use primer and matching paint for a cleaner finish.
6. Final Words
Fixing wall damage becomes much easier when you match the repair method to the size of the hole. Small nail marks may only need spackle and sanding, while larger drywall openings require backing, tape, joint compound, and careful texture matching.
Knowing how to patch a hole in the wall helps you avoid visible bumps, rough edges, and mismatched paint. Taking time with thin layers, proper drying, and smooth finishing can make the repair look clean and natural. For more simple home repair guides and practical DIY tips, explore TeaKoe.