
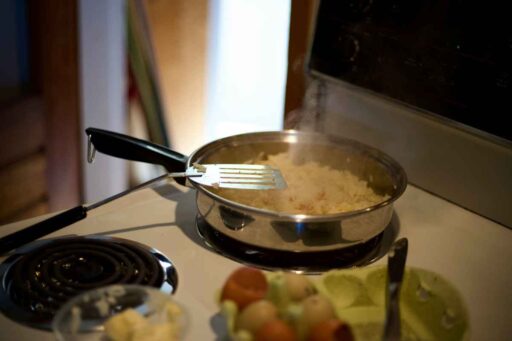
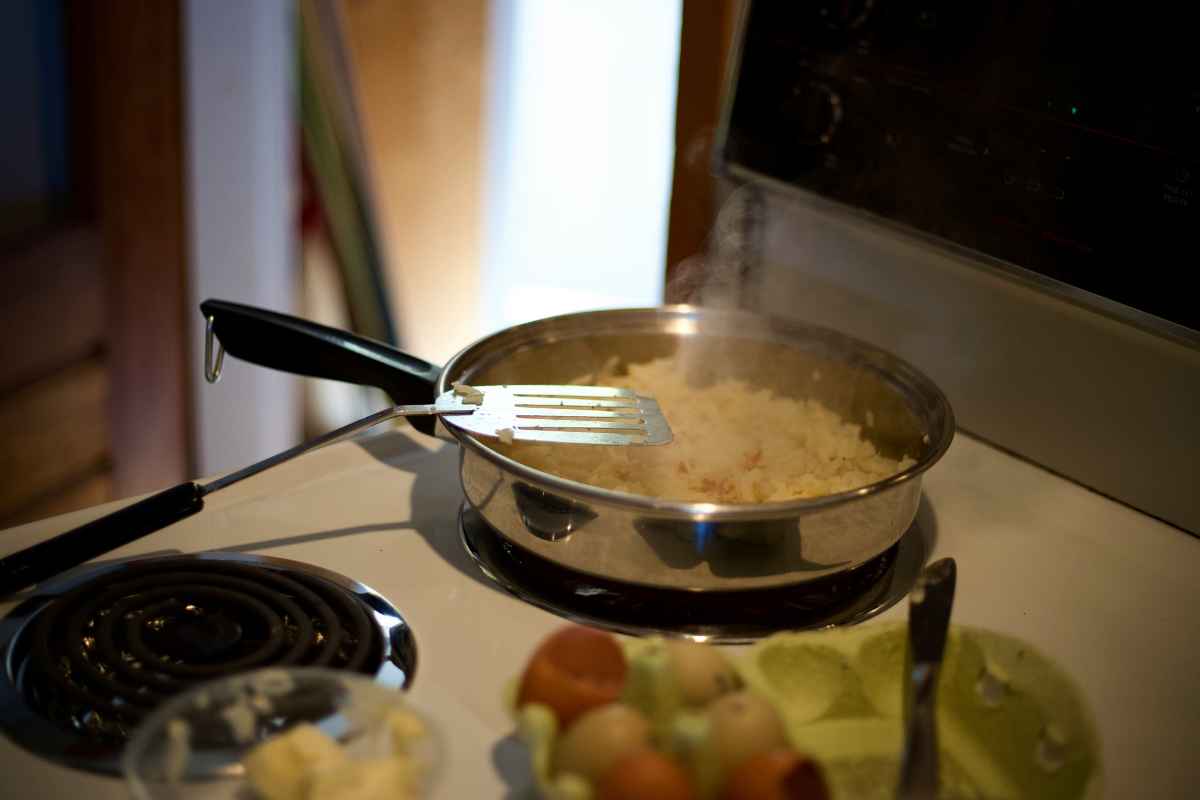

Cold rice often becomes firm and clumpy in the refrigerator, but a saucepan and a little added moisture can restore its soft, fluffy texture surprisingly well. Gentle steam is the key to warming the grains without scorching the bottom or turning them mushy.
This TeaKoe guide shows how to reheat rice on stove, covering preparation, useful liquids, step-by-step techniques, and common mistakes to avoid.
1. Is It Safe to Reheat Rice?
Yes, reheating rice is generally safe when the cooked rice has been cooled quickly and stored correctly. The primary concern is Bacillus cereus, a bacterium that can leave heat-resistant spores behind even after the rice has been cooked.
Problems arise when cooked rice remains at room temperature for too long, allowing bacteria to multiply and potentially produce toxins that reheating may not destroy.
Refrigerating leftovers promptly and keeping them properly chilled are, therefore, essential steps before reheating and serving rice again.
2. What You’ll Need Before Reheating Rice
Successful stovetop reheating does not require complicated kitchen tools, but using the right cookware makes moisture and heat easier to control.
Essential Equipment
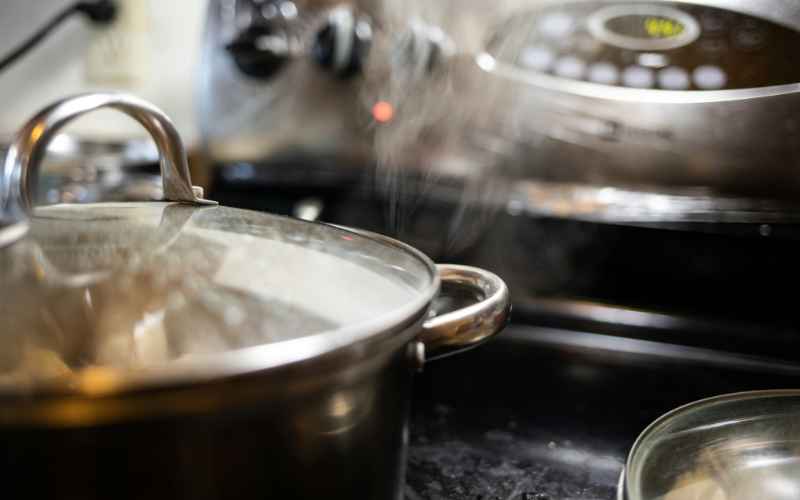
A saucepan or skillet with a well-fitting lid creates the gentle steam needed to soften refrigerated rice. Choose cookware large enough to hold the rice comfortably without packing it into a thick layer.
- Nonstick skillet or saucepan: Helps distribute heat while reducing the chance of rice sticking or scorching on the bottom.
- Lid: Traps steam inside the pan so moisture can move through the rice more effectively.
- Wooden spoon or silicone spatula: Makes it easier to break apart clumps and stir the grains gently without damaging nonstick cookware.
Best Liquids to Add
Only a small amount of moisture is needed to refresh cold rice, and the best choice depends on the flavor you want. Water keeps the taste neutral, while broth can add savory depth; butter and oil are optional additions rather than primary steaming liquids.
| Ingredient | Suggested Amount per 1 Cup of Rice | Best Use |
|---|---|---|
| Water | 1-2 tablespoons | Restores moisture without changing flavor |
| Broth | 1-2 tablespoons | Adds light, savory flavor while steaming |
| Butter | ½-1 teaspoon | Adds richness after or during reheating |
| Oil | ½-1 teaspoon | Helps separate grains and adds a smoother finish |
3. How to Reheat Rice on Stove (Step-by-Step)
The stovetop works best when cold rice is warmed gradually with just enough moisture to create steam. Controlling the heat and stirring only when necessary helps the grains soften without becoming overly wet or sticking to the pan.
Step 1. Break Apart Cold Rice
Gently break apart chilled rice clumps with a fork, spoon, or spatula before reheating. Loosening the grains helps steam circulate more evenly throughout the pan, so the rice warms consistently instead of becoming hot around the edges while remaining cool or tightly packed in the center.
Cold fried rice often sticks together after refrigeration because the starch firms up as it cools—a natural process known in food science as starch retrogradation, as outlined by Utah State University Extension research on cooked starches.
Step 2. Add a Small Amount of Liquid
Place the cold rice in a saucepan or skillet and add one to two tablespoons of water or broth per cup. Use only a small amount at first, since too much liquid can make the rice soggy. Add a little more later only if the grains still seem dry.
Step 3. Cover and Steam Gently
Set the pan over low to medium-low heat and cover it with a tight-fitting lid. The trapped moisture turns into steam, gradually softening the chilled grains while warming them without exposing the rice to excessive direct heat.
Step 4. Stir Occasionally for Even Heating
Lift the lid once or twice and gently stir the rice from the bottom upward. This redistributes heat and helps prevent sticking, but avoid stirring constantly because excessive movement can break softer grains and create a mushier texture.
Step 5. Check That the Rice Is Fully Heated
Continue reheating until the rice is steaming hot throughout with no cool sections remaining. Taste or check the center of the pan carefully, then remove it from the heat promptly so the grains do not continue drying or sticking.
4. Common Mistakes When Reheating Rice on the Stove
Stovetop reheating is simple, but small mistakes involving heat, moisture, and timing can quickly affect the final texture.
Using Heat That’s Too High
High heat can scorch the bottom layer before steam has enough time to warm the rest of the rice. Keep the burner at low to medium-low and allow the grains to heat gradually.
Gentle temperatures also reduce moisture loss, which is especially important for rice that already feels dry after refrigeration.
Adding Too Much Liquid
Pouring in excessive water or broth may seem like an easy solution for dry rice, but it can quickly create a soft, mushy texture.
Begin with one or two tablespoons per cup of rice, then add a little more only when the grains still seem noticeably dry.
Reheating Without a Lid
Leaving the pan uncovered allows moisture to escape before it can steam the rice effectively. The grains may become hotter without actually becoming softer, especially around the edges.
Covering the pan traps steam and creates a gentler environment for restoring moisture throughout the batch.
>>> Read More: How to Reheat Frozen Rice for a Quick Weeknight Meal [Guide]
5. Final Words
Soft, fluffy leftover rice is easier to achieve when moisture and heat work together instead of against each other. Following the right approach to how to reheat rice on stove means loosening cold clumps, adding liquid sparingly, and letting gentle steam warm the grains evenly.
Keep the pan covered, avoid excessive heat, and stop once the rice is thoroughly hot. For more practical cooking techniques and everyday kitchen inspiration, explore TeaKoe.